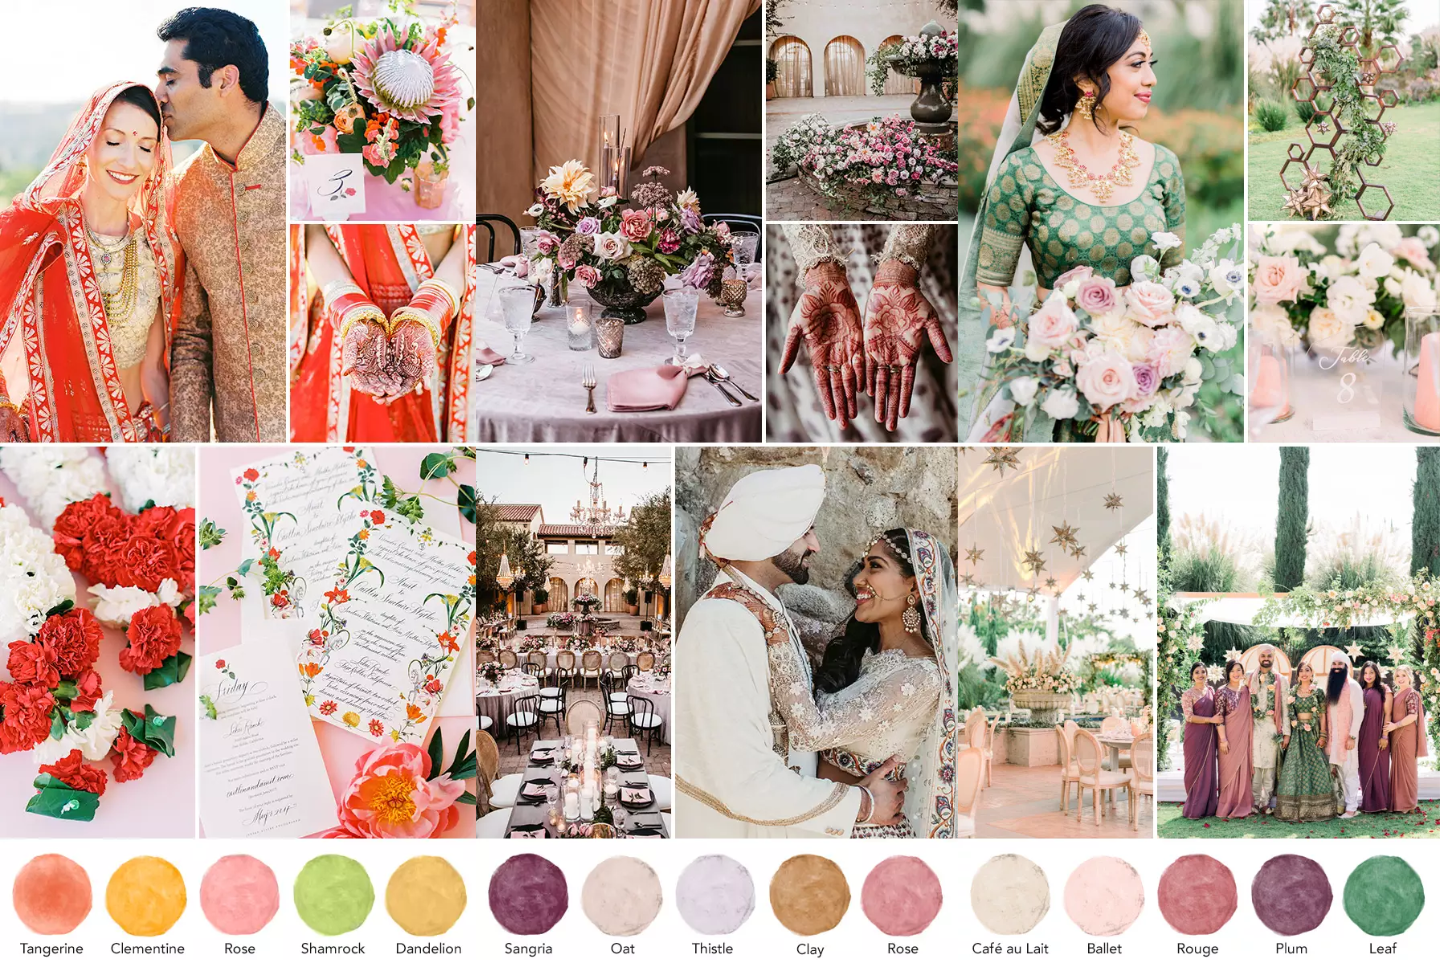
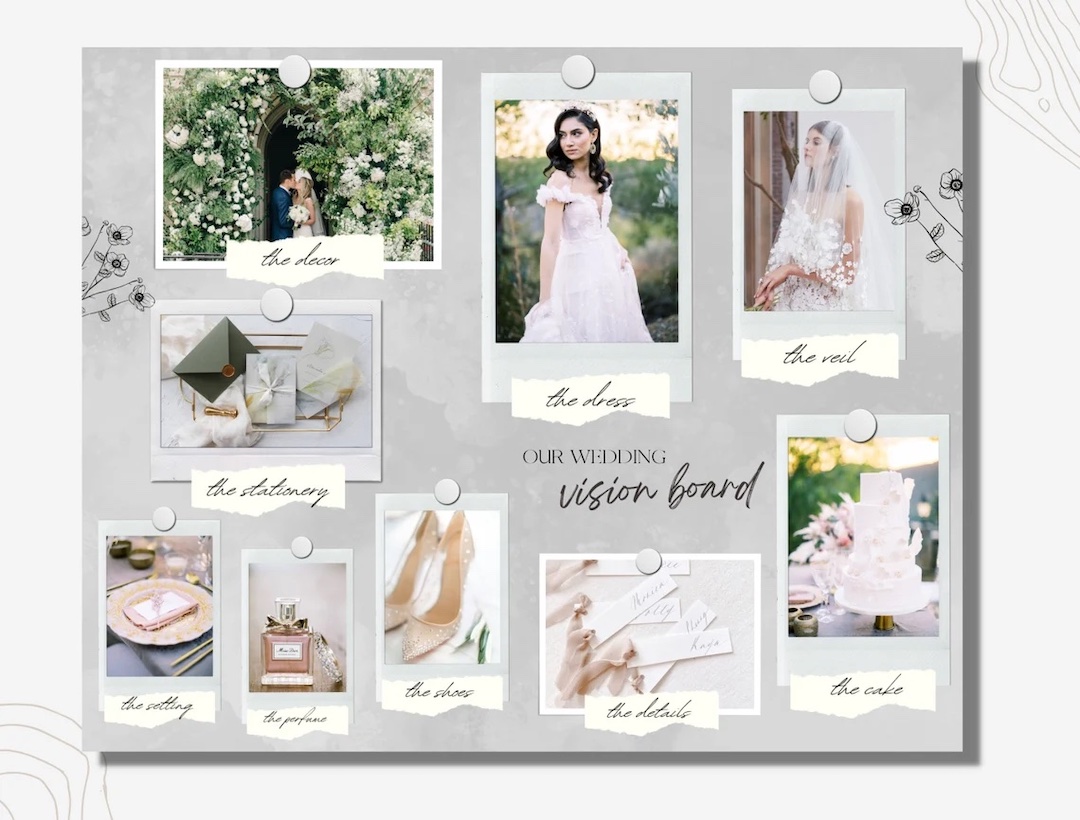
Wedding Vision Board: A Simple Guide to Designing Your Dream Wedding Look
Planning a wedding feels exciting — but also overwhelming. A wedding vision board helps you see everything in one place. It turns ideas into clear visuals so your style feels calm, connected, and beautiful. Instead of guessing, you start making confident choices. This guide walks you step-by-step through creating a board that helps with décor, colors, and vendor communication — while keeping everything Pinterest-worthy and easy to follow.
1. Gather Magazine Tear Sheets


Start offline. Flip through wedding magazines and tear out anything that catches your eye. Don’t overthink it. Focus on feelings — soft, romantic, modern, or minimal. Physical pieces help you see patterns faster than scrolling online. Lay them on a table and notice what repeats. This step builds your natural style foundation before digital planning begins.
- Collect images with similar color tones
- Save dress, table, and flower ideas
- Include lighting or venue styles
- Pick photos that feel emotional
- Group similar visuals together
Pro tip: Use sticky notes to label themes like “romantic” or “modern.”
Why it works: Physical visuals help you spot your real taste quickly.
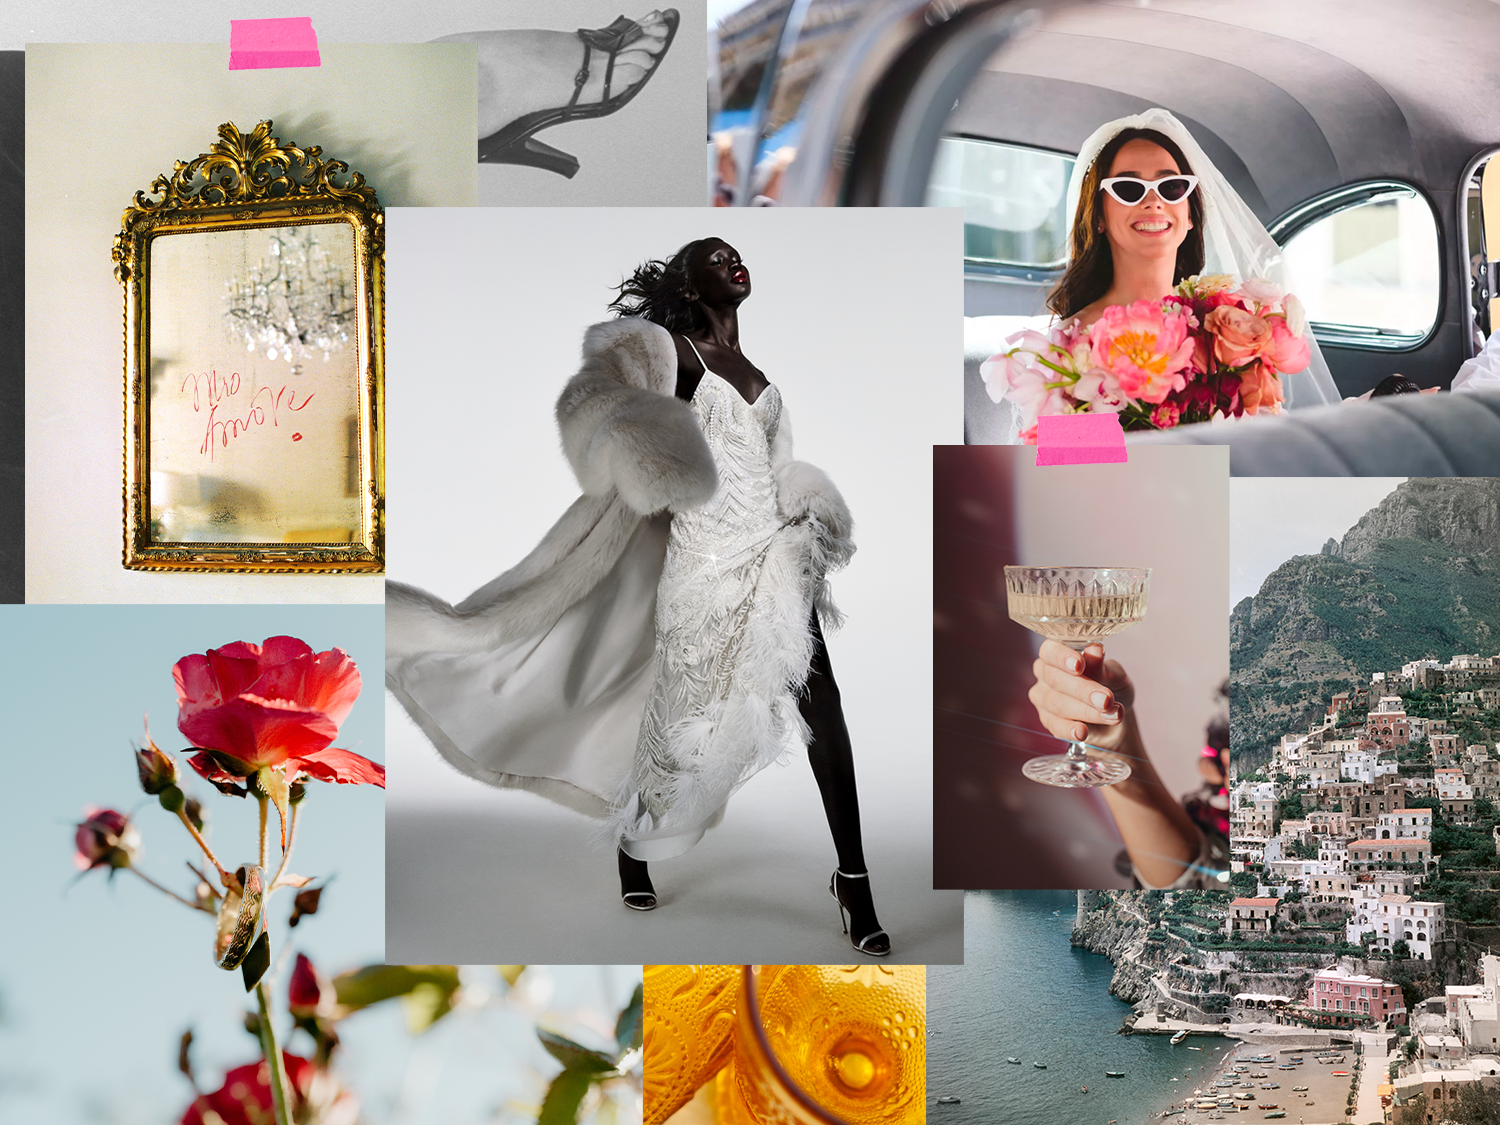
2. Pin Inspiring Decor Images


Now move to Pinterest and start saving freely. Think of this phase as collecting inspiration, not choosing final ideas. Pin décor that makes you pause. Mix styles to explore options. Later you’ll narrow things down. This stage builds your decor inspiration library so you have plenty to compare and refine.
- Create a dedicated wedding board
- Save ceremony, reception, and tablescape ideas
- Pin lighting and floral details
- Include wide venue shots and close-ups
- Avoid judging style too early
Pro tip: Save more than you think you need — editing comes later.
Why it works: Variety helps you discover unexpected design direction.
3. Arrange Digital Mood Collage


Choose a tool like Canva or Pinterest collage view and combine your favorite images into one grid. Keep spacing clean so visuals don’t feel cluttered. This collage becomes the core of your board. You’ll start seeing how décor, color, and mood connect together.
- Limit to 20–30 strong images
- Remove anything that feels off-theme
- Balance close-up and wide images
- Keep color tones similar
- Arrange by mood, not category
Pro tip: Leave white space between images for a clean look.
Why it works: A digital layout shows instantly if styles clash.
4. Match Palette With Textures


Colors alone aren’t enough — textures matter just as much. Pair tones with materials like linen, satin, wood, or glass. This step helps your vision feel real instead of flat. A wedding with strong textures looks more styled and warm in photos.
- Pair colors with fabric references
- Add wood, metal, or glass details
- Mix soft and structured textures
- Keep contrast gentle
- Avoid too many competing finishes
Pro tip: Add one “hero texture” you repeat across décor.
Why it works: Texture creates depth and makes styling feel intentional.
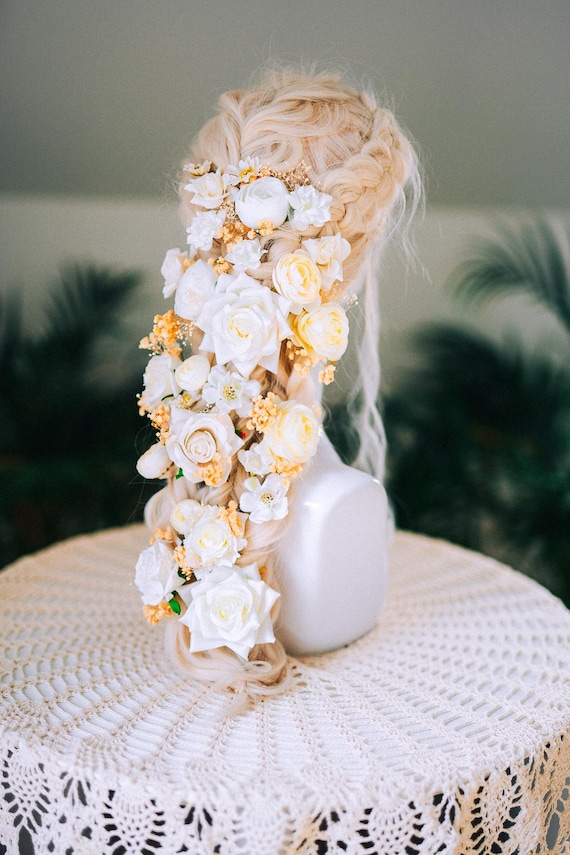
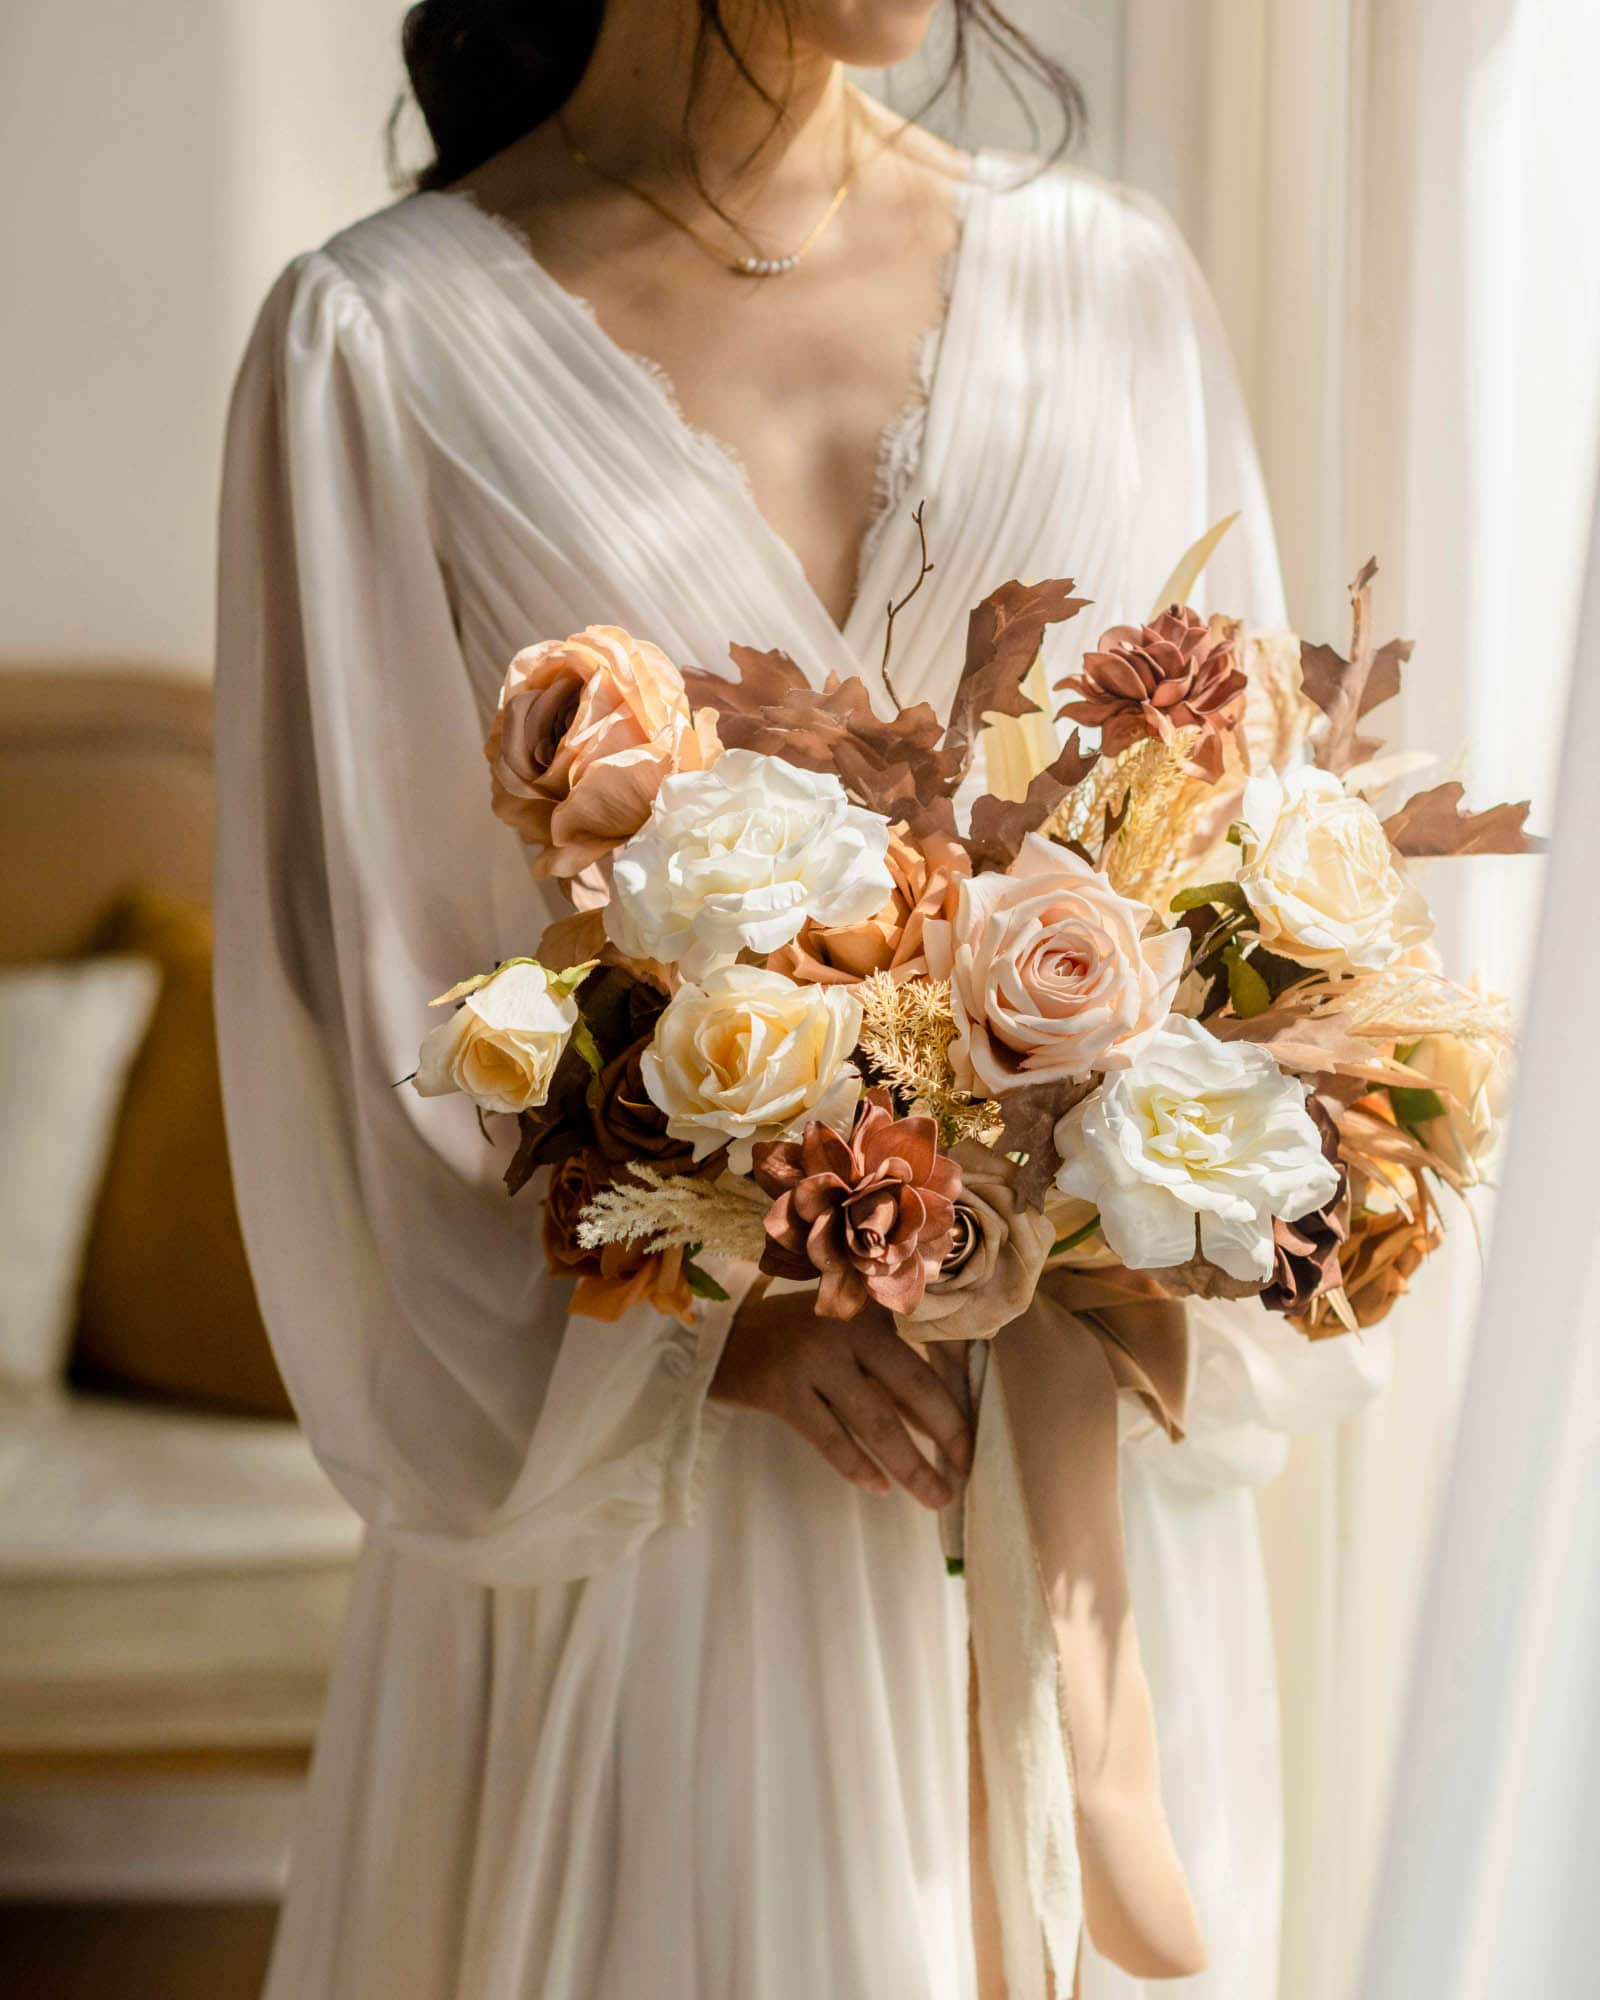
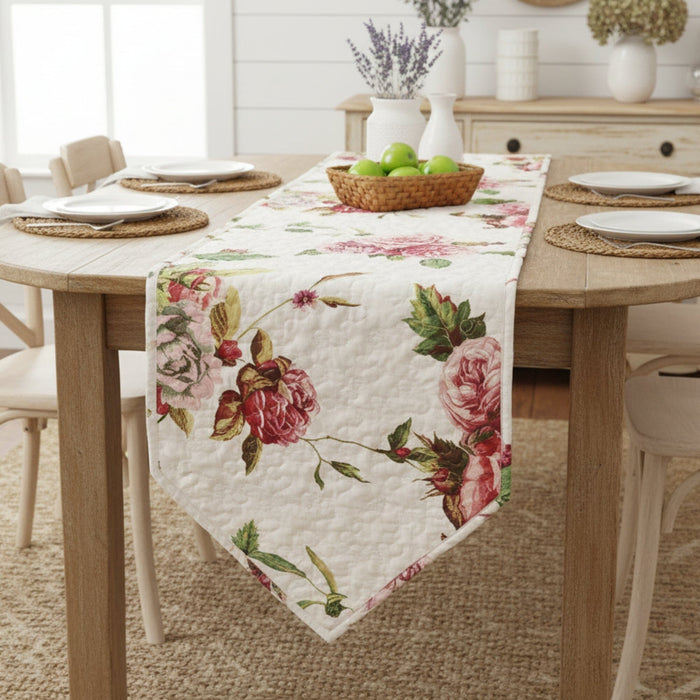
5. Add Centerpiece Inspiration Photos


Centerpieces anchor the table design. Save examples that match your mood and budget. Think about height, candles, flowers, and space for guests. This is also a good stage to connect your board with your planning aesthetic so everything works together visually.
- Compare tall vs low centerpieces
- Add candle or lantern variations
- Include greenery options
- Match centerpieces to table style
- Save budget-friendly alternatives
Pro tip: Include one simple centerpiece style for backup.
Why it works: Consistency across tables instantly elevates the event.
6. Design Tablescape Inspiration Grid


A tablescape grid helps you see plates, linens, napkins, and glassware together. Without this step, tables often look mismatched. Use your board to compare combinations and keep the design cohesive. You’ll make rental decisions much easier later.
- Include linen colors and styles
- Add plate and cutlery examples
- Compare folded napkin looks
- Show candle or floral placement
- Keep style consistent with theme
Pro tip: Screenshot complete table setups instead of single items.
Why it works: Seeing full layouts prevents styling surprises.
7. Curate Ceremony Backdrop Ideas


Your ceremony backdrop appears in most photos, so it deserves space on the vision board. Choose ideas based on venue style and lighting. Keep shapes simple if the environment is already beautiful. This keeps focus on you — not just the décor.
- Save arch, floral, or draped designs
- Match backdrop colors to palette
- Include indoor and outdoor options
- Add wide angle ceremony views
- Compare minimalist vs lush setups
Pro tip: Include a backup version for bad weather.
Why it works: Planning alternatives reduces last-minute stress.
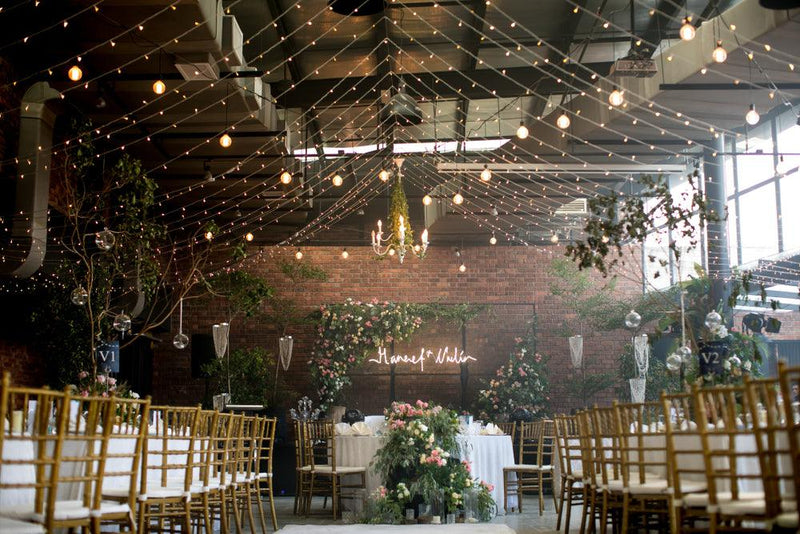
8. Pin Lighting and Candle Ideas


Lighting changes the entire mood of a wedding. Warm lights feel intimate and soft in photos. Add candle setups, fairy lights, and hanging bulbs to your board. This section helps you explain atmosphere clearly to vendors and photographers.
- Save daytime vs evening lighting examples
- Add candle clusters
- Include overhead lights
- Compare warm vs bright tones
- Match lighting to venue style
Pro tip: Look for images showing guests under the lights.
Why it works: Lighting creates emotion more than décor itself.
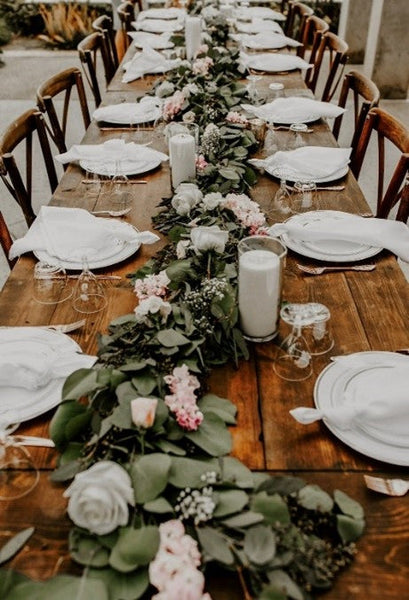
9. Save Floral Runner References


Floral runners make long tables look connected and polished. They also tie colors together. Save different flower densities — full, medium, or minimal — so you can adjust for budget later. This section blends perfectly with your overall wedding decor ideas style.
- Compare greenery vs full floral runners
- Include seasonal flower examples
- Save mixed candle setups
- Add long table inspiration
- Keep colors aligned with palette
Pro tip: Include one low-cost greenery version.
Why it works: Flexible ideas help balance design and budget.
10. Organize Color Swatch Boards


Color swatches prevent decision confusion. Place 3–5 main shades together and see how they interact. Include tones from flowers, dresses, linens, and stationery. This section keeps the whole event visually connected from start to finish.
- Limit palette to a few core shades
- Add light and dark balance
- Include accent color ideas
- Compare warm vs cool undertones
- Keep tones photo-friendly
Pro tip: Check colors under natural light.
Why it works: Consistent colors make photos look polished.
11. Compare Theme Layout Options


Sometimes two styles feel equally right. Instead of guessing, build mini layouts side by side. Compare how each theme looks with your venue, colors, and décor. This makes decision-making easier and avoids mixing styles that clash later.
- Create two or three mini boards
- Compare mood and lighting
- Test color flexibility
- Match theme to venue size
- Choose the most cohesive look
Pro tip: Ask a trusted friend which feels most “you.”
Why it works: Visual comparison removes confusion fast.
12. Finalize Cohesive Visual Story


Now refine. Remove anything that feels random. Your board should tell one story from ceremony to reception. This is where everything clicks. A strong board helps with vendor chats and keeps spending focused on what matters most.
- Keep only strong visuals
- Align colors and textures
- Balance décor and detail shots
- Check flow from start to finish
- Make sure mood stays consistent
Pro tip: Step away for a day before final edits.
Why it works: Fresh eyes make design choices clearer.
13. Easy Styling Errors to Avoid


- Mixing too many design styles
- Choosing colors without testing together
- Overcrowding boards with similar images
- Ignoring lighting inspiration
- Picking trends that don’t fit your venue
14. Present Board to Vendors & Keep Updating

Once your board is ready, share it with your planner, florist, and decorator. Clear visuals reduce misunderstandings and save time. After meetings, update the board with new ideas or practical changes. Think of it as a living document that grows with your planning journey.
- Export board as PDF or shared folder
- Highlight must-have visuals
- Mark flexible ideas separately
- Update after each vendor call
- Keep one final approved version
Pro tip: Add short notes explaining priorities.
Why it works: Vendors understand your vision faster and deliver better results.
FAQs
How do you create a wedding vision board?
Start by collecting inspiration from magazines and Pinterest. Arrange images digitally, add colors and textures, and refine until the style feels consistent.
What should go on a vision board?
Colors, flowers, lighting, ceremony setup, tablescapes, décor details, and overall mood images.
Digital or physical mood board — which is better?
Digital works best for sharing with vendors, but physical boards help you explore ideas early. Many couples use both.
How often should you update your board?
Update after each major vendor meeting or whenever your style decisions change.
How do you share your board with vendors?
Send a PDF, shared Canva link, or Pinterest board so everyone sees the same visual direction.
Conclusion
A wedding vision board is more than pretty pictures. It’s your roadmap for styling decisions, budget choices, and vendor communication. When your visuals feel clear and connected, planning becomes lighter and more exciting. Keep refining your board as ideas grow, and use it to guide every decision — just like your main wedding planning journey should.
Focus Keyphrase
Wedding Vision Board
Keyphrase Synonym (1)
Wedding Mood Board
Related Keyphrase (1)
Wedding Style Planning
Primary H1
Wedding Vision Board: Create a Beautiful Style Plan That Feels You
Alternative H1s (2–3)
- How to Build a Wedding Vision Board That Guides Every Decor Choice
- Wedding Vision Board Ideas to Turn Inspiration Into Reality
- Create a Wedding Mood Board That Makes Planning Easier
Meta Titles (3)
- Wedding Vision Board Guide: Plan Your Dream Wedding Style
- How to Create a Wedding Vision Board Brides Actually Use
- Wedding Vision Board Ideas for Cohesive Decor & Styling
Power Title (1)
The Wedding Vision Board That Makes Every Decor Decision Easy
Meta Description (155–158 characters, keyphrase once)
Soft textures, layered tones, and calm styling—build a wedding vision board that keeps every decor choice aligned while making your whole day feel intentional.
High CTR Slug / URL
wedding-vision-board-style
3 High-CTR Slug Variations
- wedding-vision-board-guide
- wedding-mood-board-ideas
- wedding-style-vision-board
Intro Paragraph (70–80 words, strong hook)
Silence falls before guests walk in.
Everything feels soft, rich, and perfectly styled.
Most couples fear their wedding will look scattered instead of stunning. A wedding vision board fixes that. It turns random inspiration into one clear visual story so décor, colors, and mood finally make sense together. Instead of second-guessing every decision, you see the full picture early — and plan with calm confidence, knowing your wedding will feel warm, beautiful, and truly personal.
Conclusion Paragraph (65–70 words, warm tone, must include /wedding/decor/)
A thoughtful vision board gives your ideas a real shape and helps every choice feel easier. When colors, textures, and styling live in one place, planning feels lighter and more exciting. Keep refining your board as your details grow, and let it guide each next step naturally. For more styling inspiration, pair this with ideas inside /wedding/decor/ so your entire wedding look stays beautifully connected.